Before any lithography can be done, I need to work out how to spincoat with photoresist. The photoresist I currently have is UV curable “solder mask” / “solder paint”, which is used to mask off PCBs and resist solder adhesion everywhere except the pads.
The first few attempts were a bit dicey, but I think I figured it out by the end.
Spincoating Theory
Spincoating is a two-stage process. The first stage the “coating” phase, which is a relatively low RPM spin. During this phase the photoresist is spread across the substrate. Interestingly, the final thickness is only dependent on the viscosity and the spin speed, not the amount of liquid that is added (assuming you add enough to coat completely). So the takeaway is that you shouldn't be stingy with resist, as the extra won't affect the final thickness.
As the resist is spreading, the friction of the liquid is fighting against the centrifugal force of the spinner. As the resist thins, the centrifugal force affects it less. The photoresist solvent also begins rapidly evaporating, which drastically increases the viscosity of the fluid, further slowing it down. Eventually, the resist stops flowing.
This all happens usually within the first second of spinning, which is why the initial parameters are crucial.
The second stage is the “drying” phase. During this time, the speed is ramped up higher and the main goal here is to simply accelerate the removal of solvent from the resist. The resist is likely solid before it hits this phase, so the thickness shouldn't change. Removing solvent helps make the photoresist easier to work with, retain better patterning, etc.
NOTE: in the video, I said the first stage should be 500-800rpm, and second stage 2000-3000rpm (which is what I did in the video). After re-reading some source material, I think the first stage is actually 2000-3000, and the second is something higher.
Testing PCB Solder Mask Properties
Ok, enough theory. :)
The solder mask was purchased on eBay (just search for “UV solder mask” or similar), and took a few weeks to ship from china. It comes in 100g pots, which should be enough to last approximately forever when being used for spincoating.
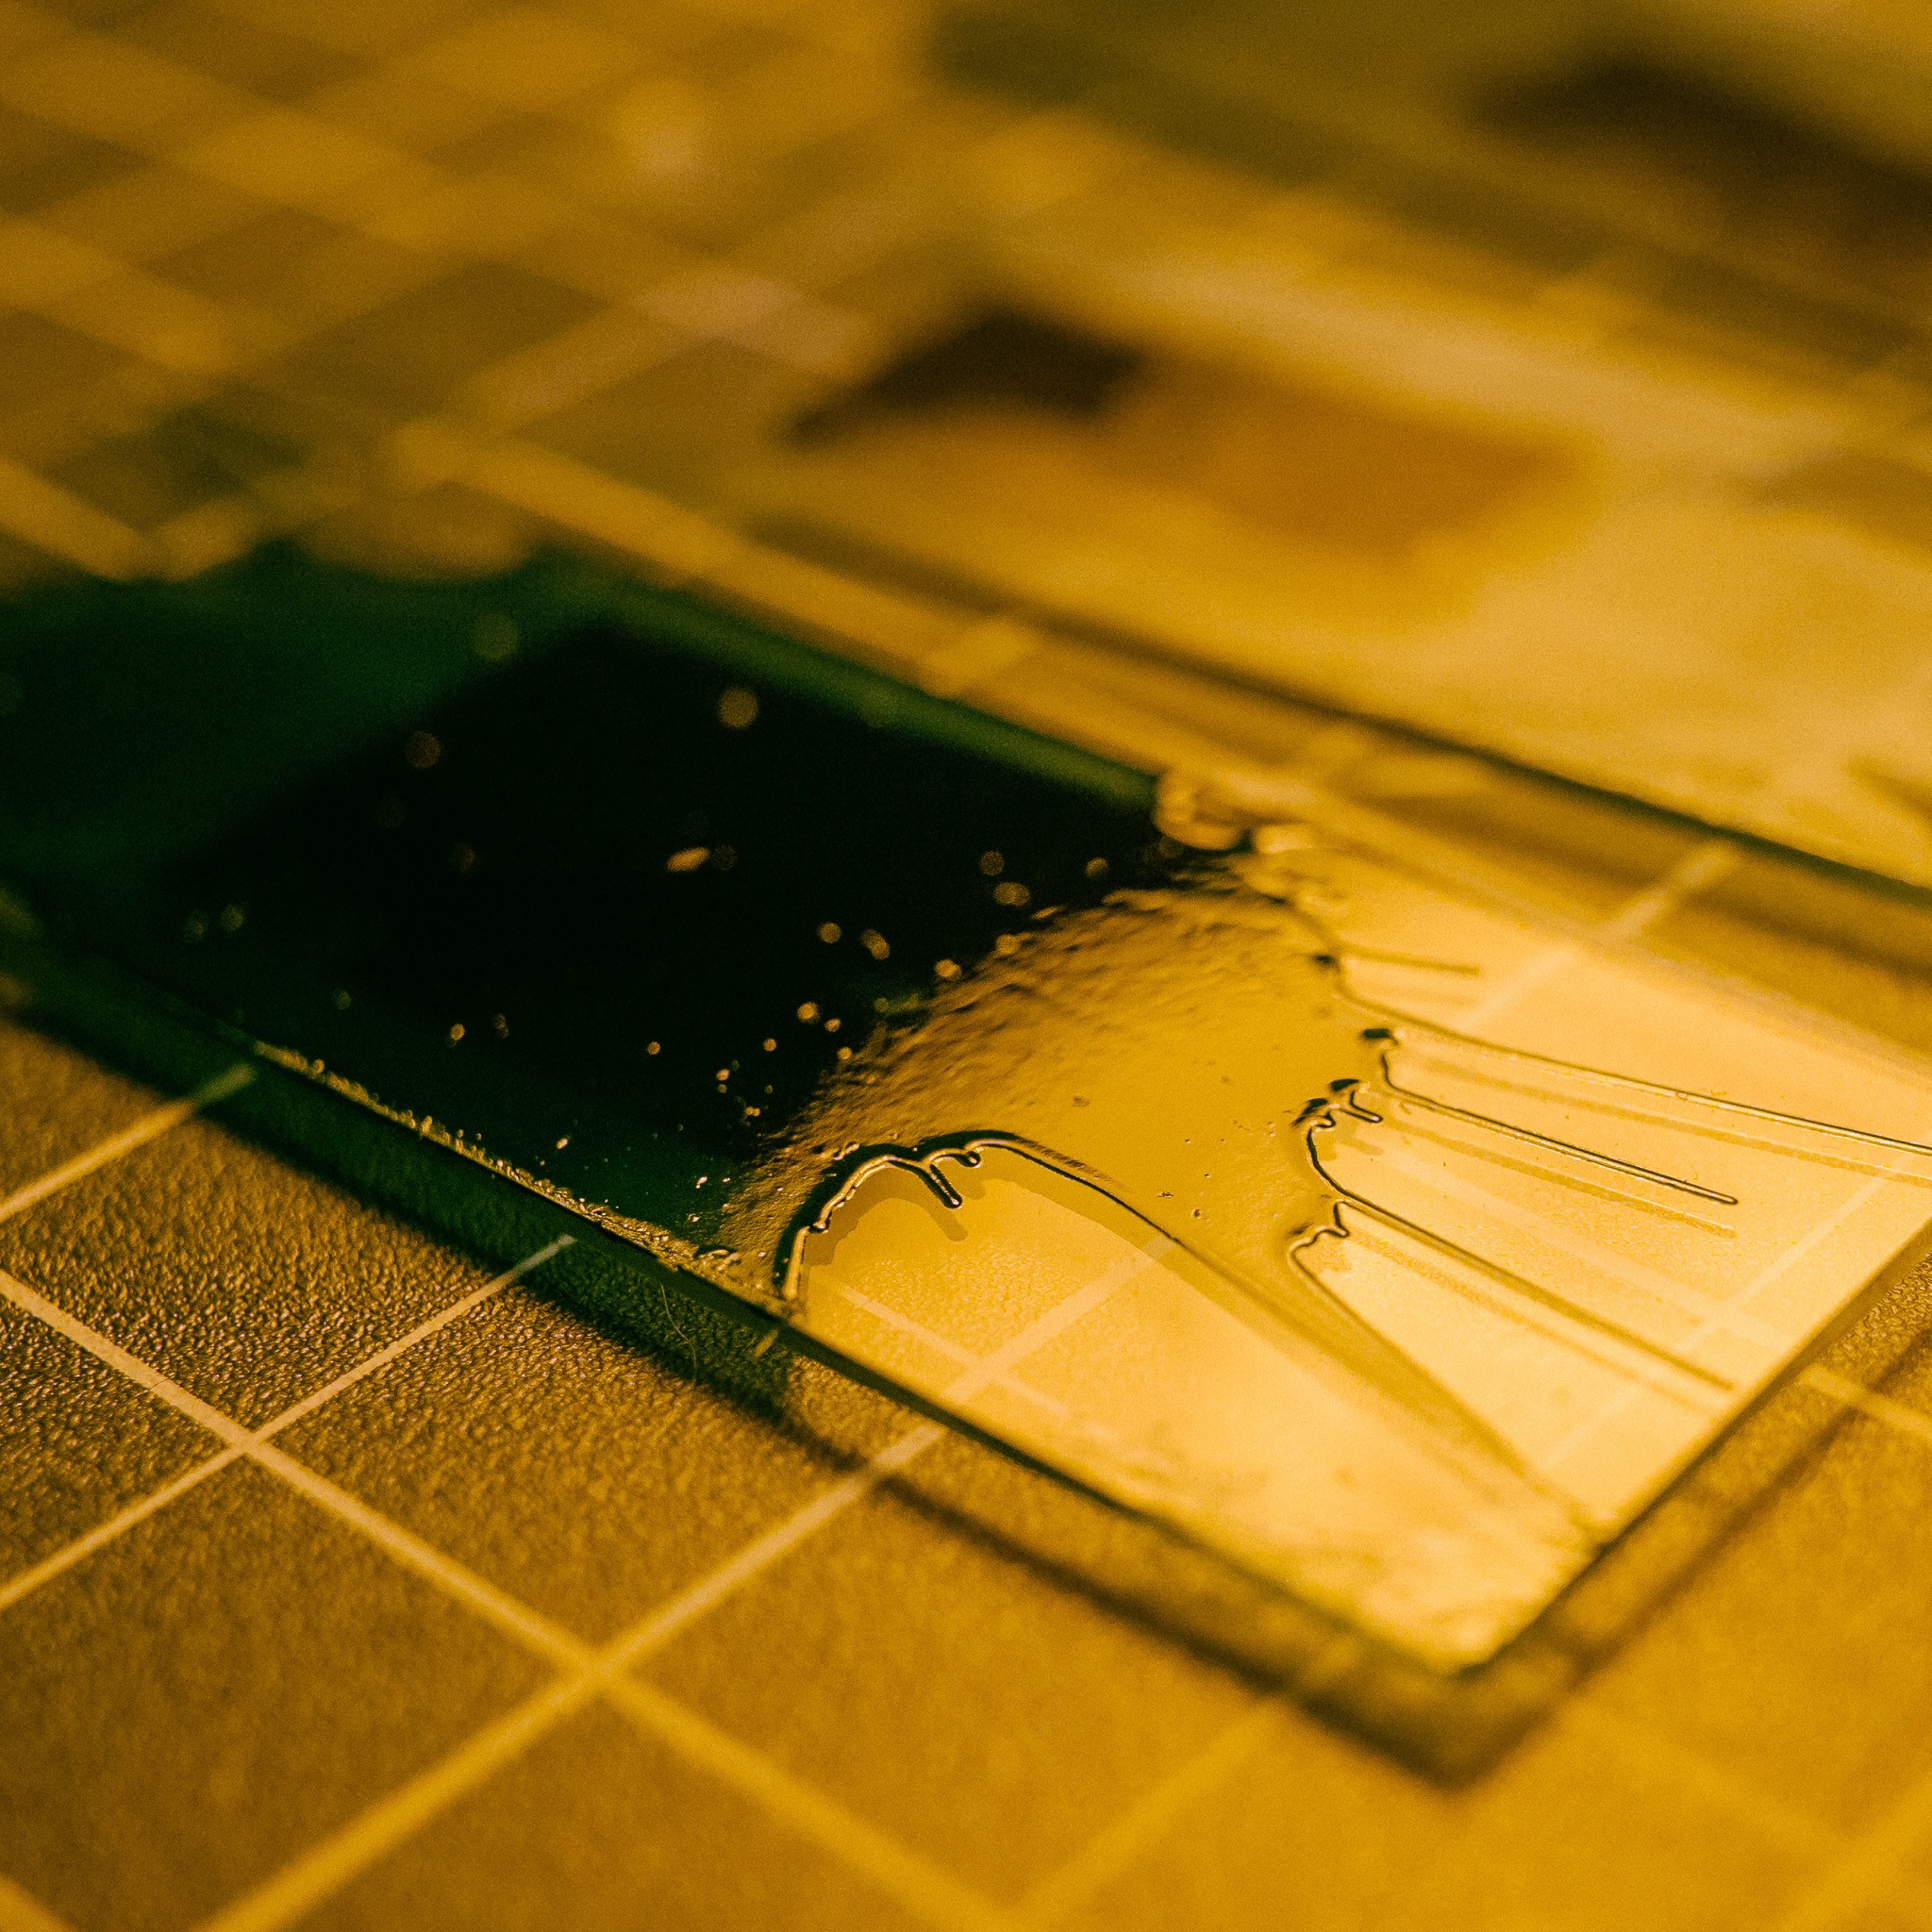
I started out with spinning just the plain solder paint. I knew it wouldn't work because it was too thick, but I wanted to establish a baseline. The results weren't pretty (well, they were aesthetically pretty… but not a good coating :) )
Apologies for the lighting in all these photos, I was working under a yellow lamp and my camera's white-balance went crazy.
From what I understand, solder mask is essentially acrylic resin suspended in some kind of organic solvent, mixed with a UV-sensitive photoinitiator. Luckily for me, that means you can thin it down with acetone (and perhaps other organic solvents).
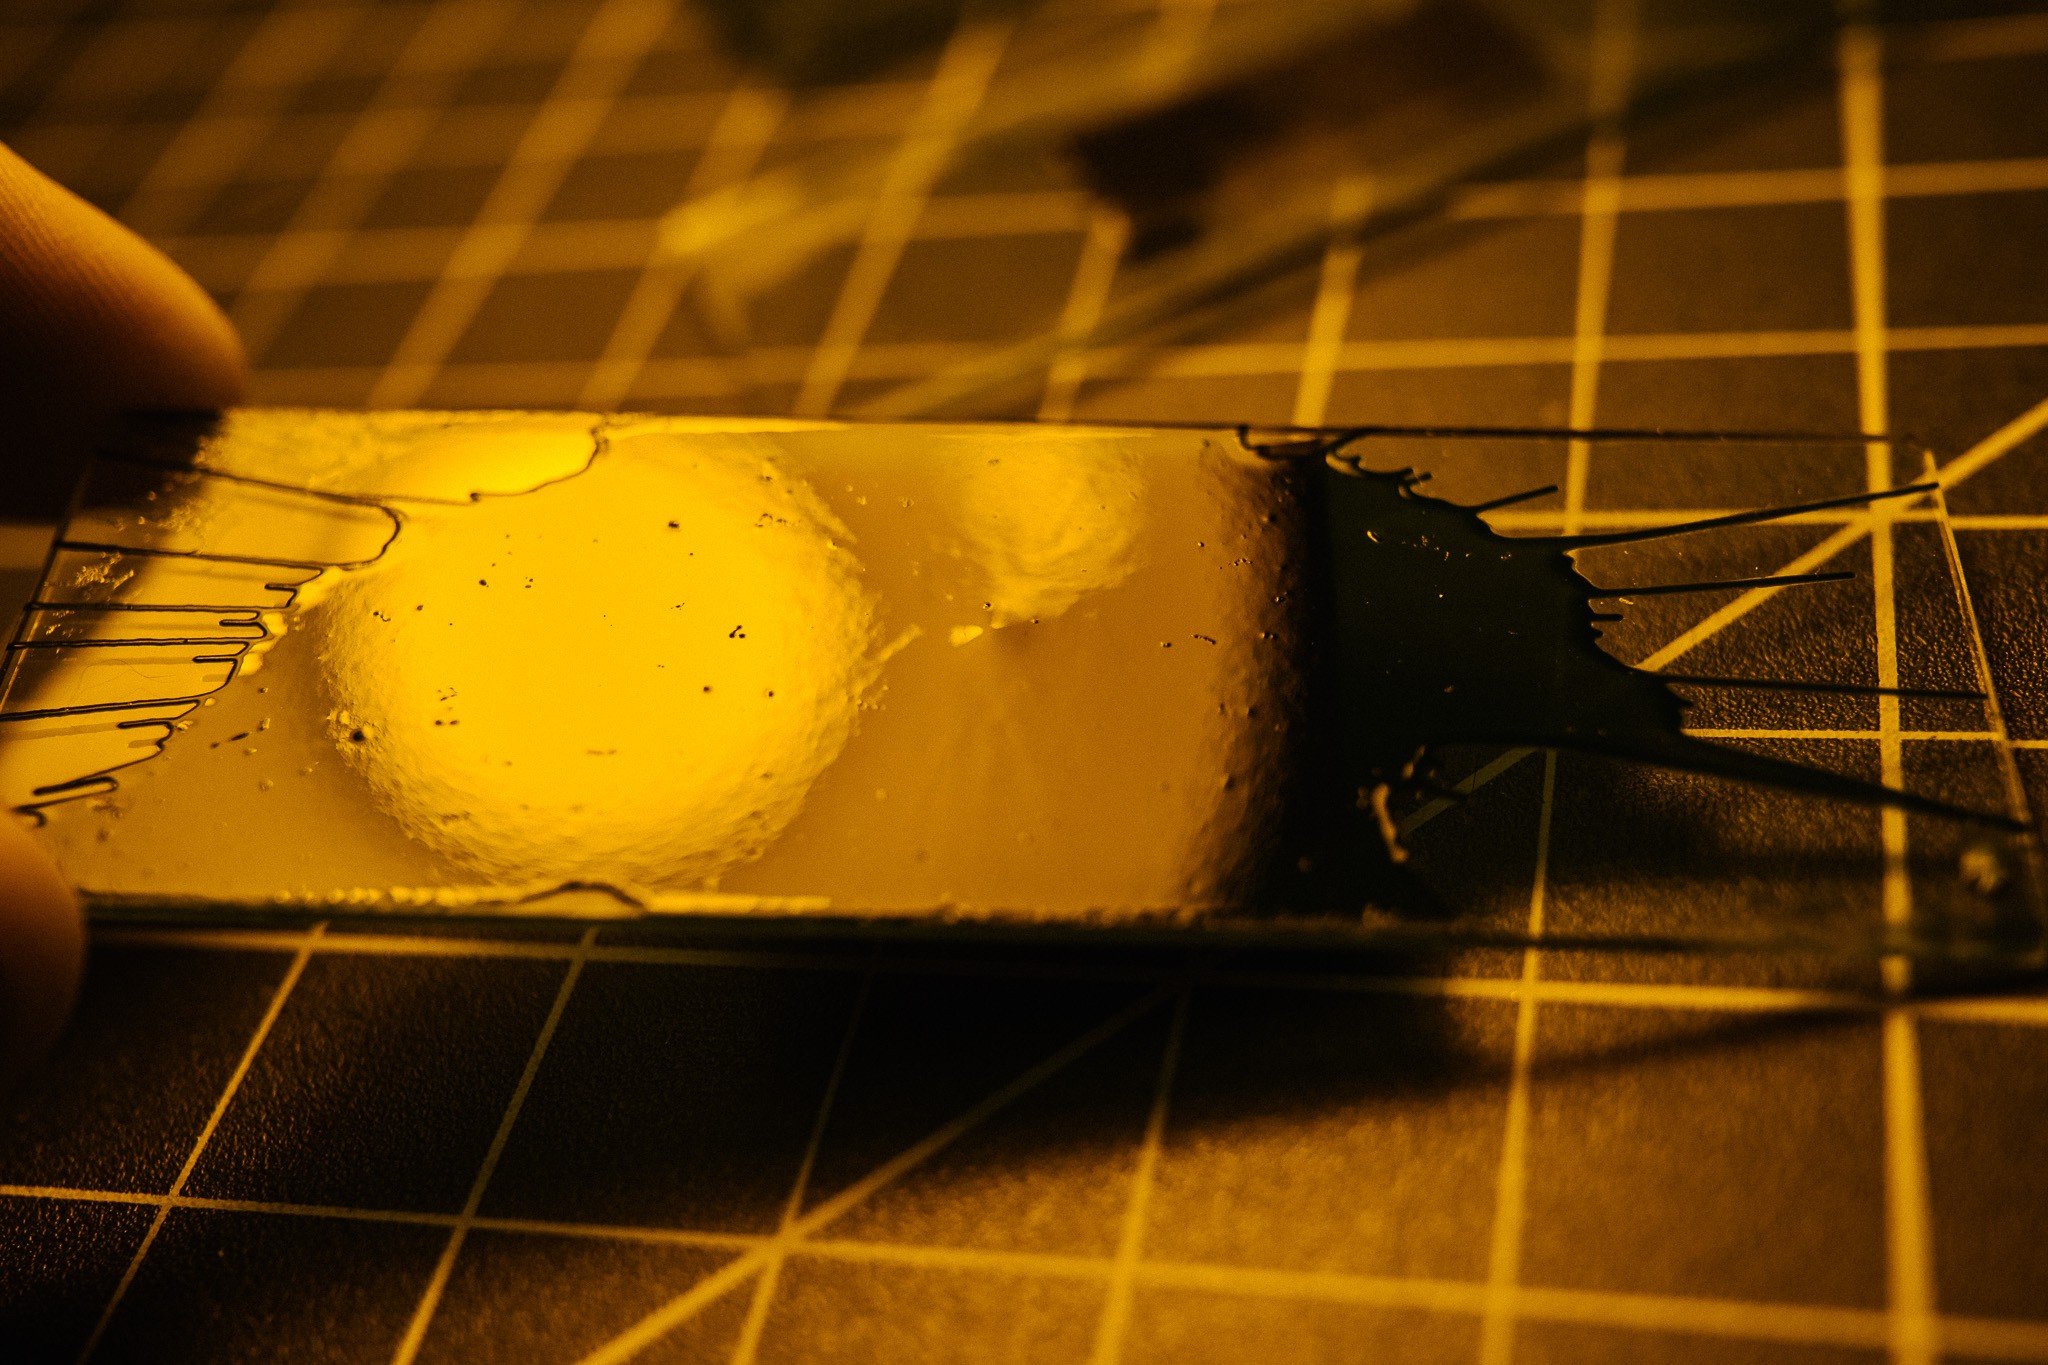
So I glopped a bit of the solder paint into a cup and thinned with acetone, then tried again:
Better! I actually thinned it too much, which was immediately obvious because it started to evaporate/dry even before I began spinning. There wasn't enough mask particulate to cover evenly, and the acetone evaporated before it could cover everything. If I had added more fluid it may have worked, but looking under a microscope the “coated” portions still look pretty bare… there just wasn't enough paint in the mixture.
Third time's a charm, right? I let the mixture sit for a few minutes so the acetone would evaporate off, then tried again once the consistency was somewhere around milk. Opaque, but fluid and runny, slightly thicker than water (if I had to guess). That's inline with what the literature says photoresist should be. Quoting “Fundamental Principles of Optical Lithography”:
Typical resist viscosities range from 5 to 35 cSt (1 Stoke = 1 cm2 /s). As a point of reference, water has a viscosity of about 1 cSt at room temperature.
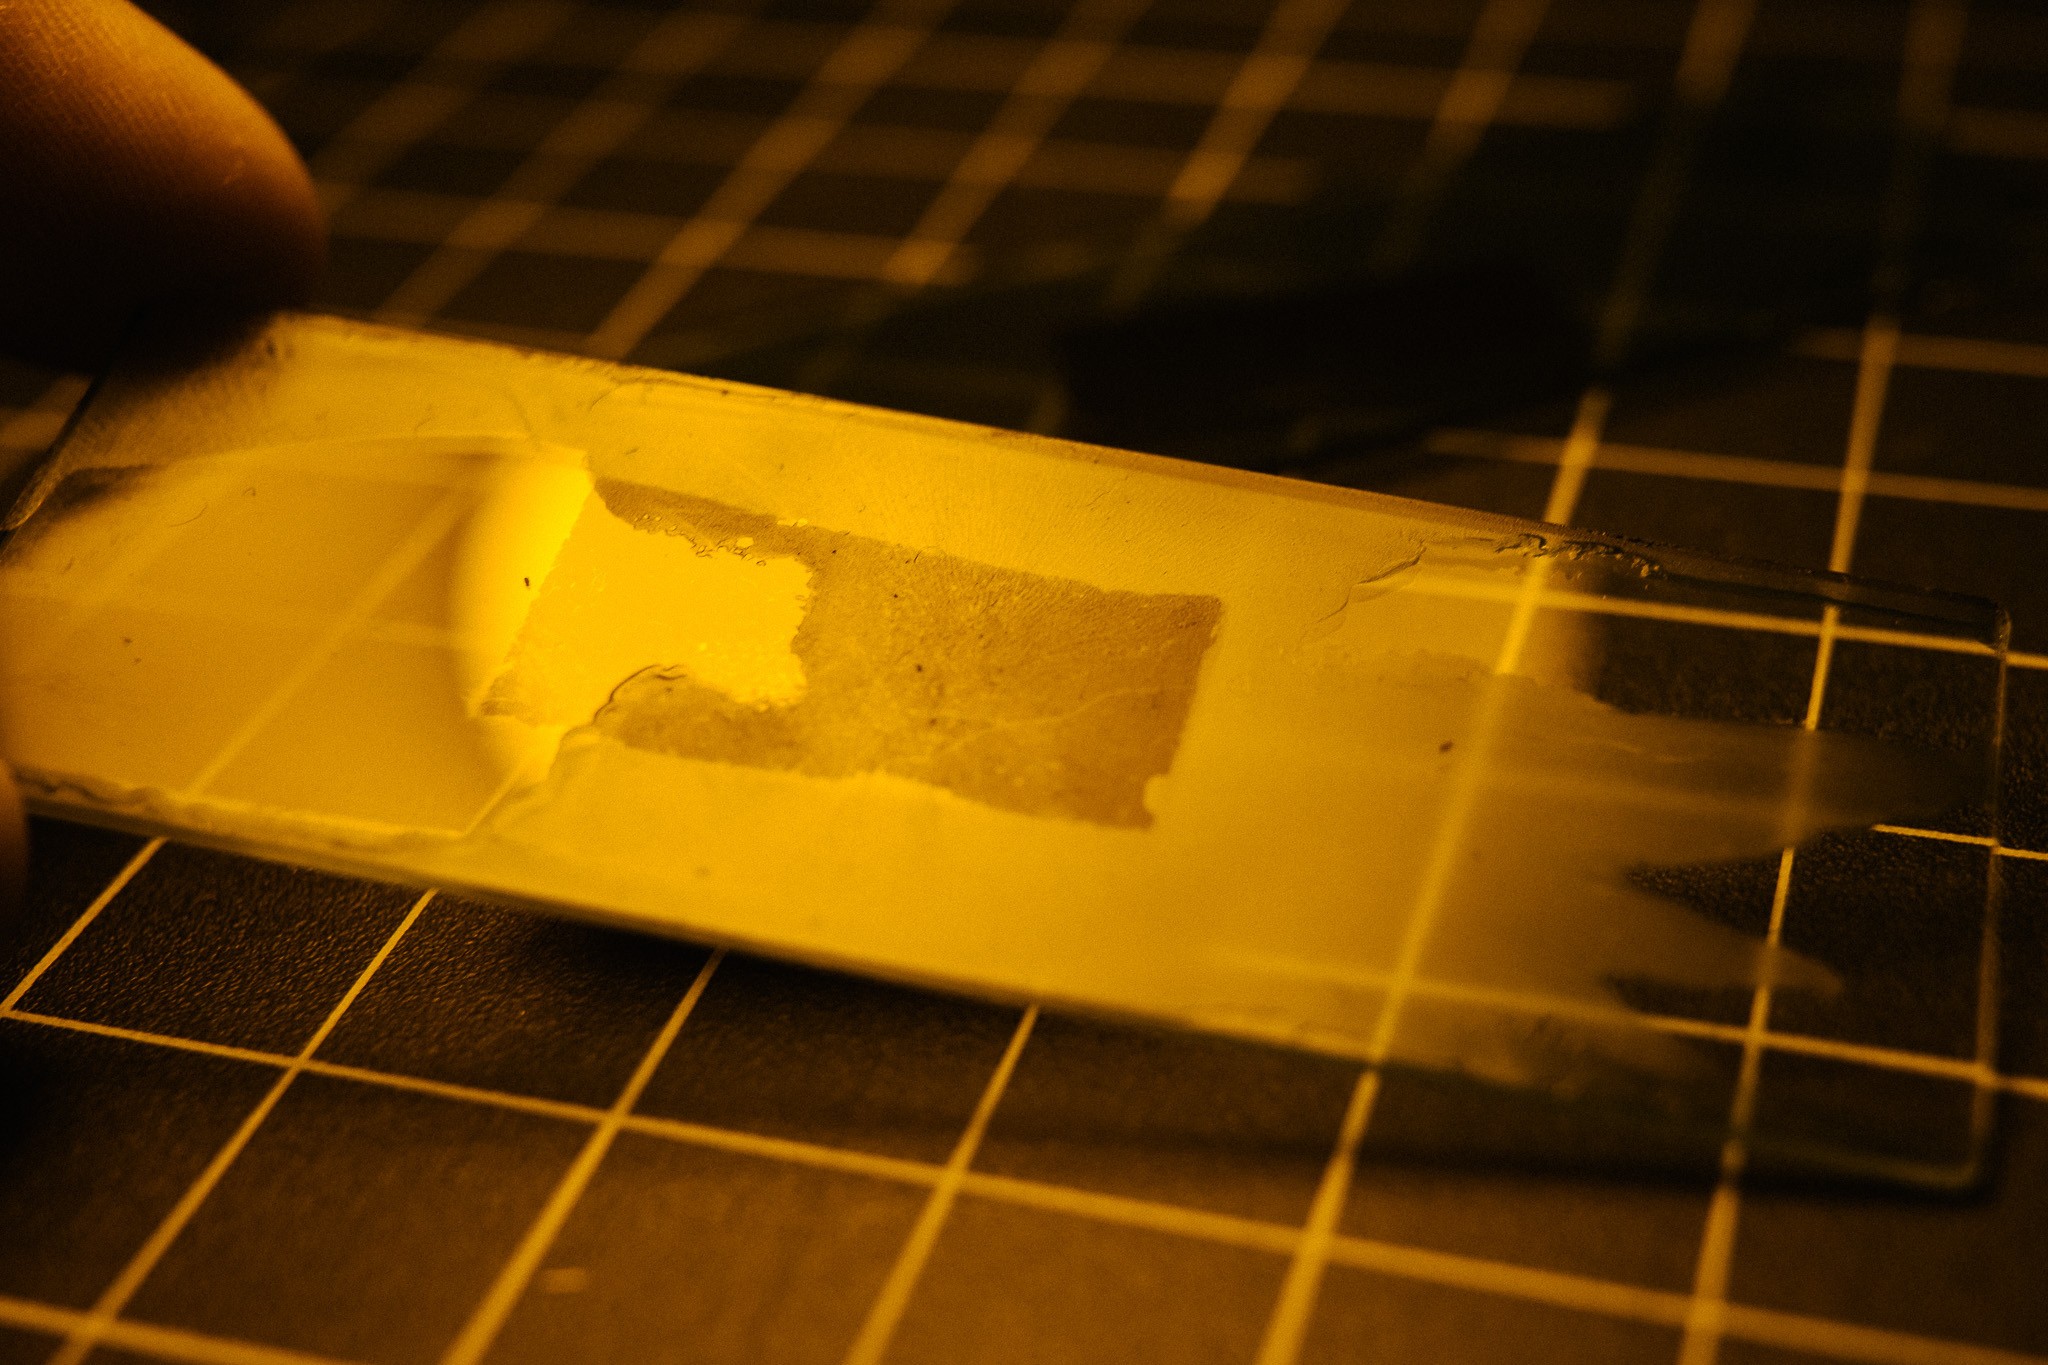
And the results? Much better!

The coating is fairly uniform, covers the majority of the slide (excepting that bit on the right) and has a nice matte texture. If you look closely you can still see “spin” texture which may suggest it was a tad too thick, or perhaps some of the spinning parameters are slightly off.
As noted at the beginning, I was doing a 1000/3000 rpm schedule, when I should probably be doing something more like 2000/5000. Will need to keep playing.
Next step is to start developing these under laser and projector light, and figure out timing for that step.